Restoring Clarity: The Art of Rock Chip Repair
Few issues in automotive maintenance are as common and frustrating as rock chips on windshields. These small yet unsightly blemishes can detract from your vehicle’s overall appearance and compromise its structural integrity.
However, with the right knowledge and techniques, rock chip repair can be a simple and cost-effective solution to restore your windshield’s clarity and strength.
Understanding Rock Chips
Rock chips occur when small stones, pebbles, or other debris strike the surface of your windshield at high speeds, typically while driving on highways or unpaved roads. The impact of these projectiles can create a small, circular, or star-shaped crack or chip in the glass. While some rock chips may appear insignificant, they can quickly spread and worsen, especially when exposed to temperature changes, vibrations, or additional impacts.
Types of Rock Chips
There are several types of rock chips, each with its characteristics and repair requirements:
- Bullseye: A bullseye chip is a circular crack with a well-defined center point, resembling a target.
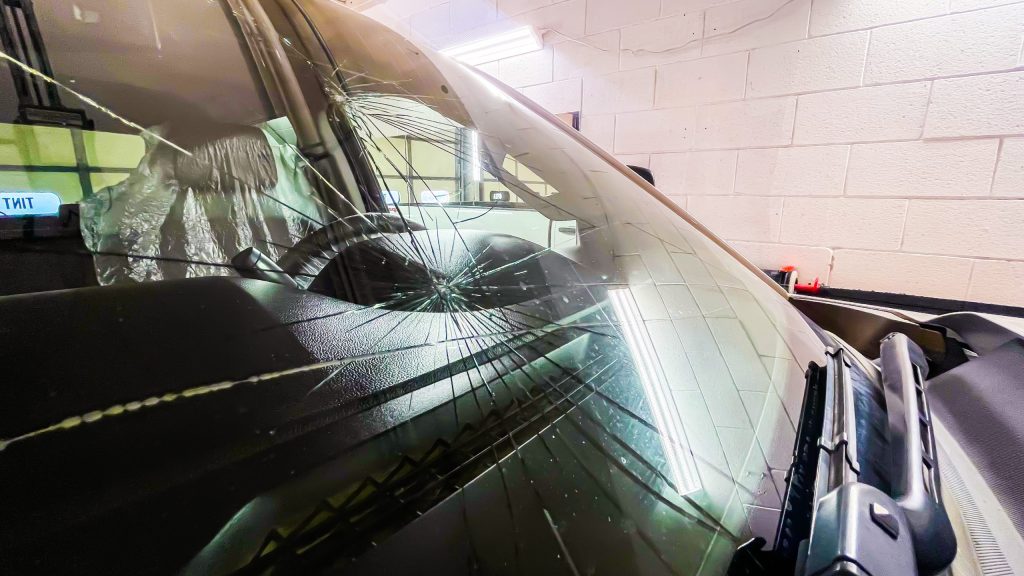
- Star Break: A star break consists of several cracks radiating outward from a central point, forming a star-like pattern.
- Combination Break: A combination break combines a bullseye and a star break, with cracks extending from a central point in multiple directions.
- Crack: A crack is a linear break in the glass that extends outward from the point of impact.
Understanding the type of rock chip you’re dealing with is crucial for determining the appropriate repair method and the likelihood of a successful outcome.
Assessing the Damage
Before attempting a rock chip repair, it’s essential to assess the extent of the damage to your windshield. Factors to consider include:
- Size: Rock chips larger than a quarter (approximately 1 inch or 2.5 cm) may be too large for effective repair and require windshield replacement.
- Depth: If the chip has penetrated the entire windshield thickness, it’s unlikely to be repairable.
- Location: Rock chips located in the driver’s line of sight or within 3 inches (7.6 cm) of the edge of the windshield may not be suitable for repair, as they can interfere with visibility or compromise the structural integrity of the glass.
If the rock chip meets the criteria for repair, it’s essential to address it promptly to prevent further damage and ensure the safety of your vehicle.
The Rock Chip Repair Process
The rock chip repair process typically involves the following steps:
- Cleaning the Area: The first step is thoroughly cleaning the area around the rock chip using a lint-free cloth and a specialized glass cleaner. This removes any dirt, debris, or moisture that could interfere with the repair process.
- Drilling a Hole: Sometimes, a small hole may be drilled at the center of the rock chip to help release any trapped air or moisture. This step is particularly important for bullseye and combination breaks.
- Injecting the Resin: A repair tool is used to inject a specialized resin into the rock chip. The resin fills the void created by the impact and helps to seal the crack or chip.
- Curing the Resin: The resin is then cured using a UV light or heat source, depending on the specific repair kit used. This process hardens the resin and bonds it to the glass.
- Polishing and Finishing: The repaired area is finally polished to remove excess resin and restore the windshield’s clarity. Sometimes, tinting may be applied to blend the repaired area with the surrounding glass.
It’s important to note that while rock chip repair can be an effective solution, it may not always be possible to completely remove the appearance of the damage. Sometimes, a slight distortion or discoloration may remain visible, especially in direct sunlight or at certain angles.
Choosing a Rock Chip Repair Service
If you’re uncomfortable performing the rock chip repair yourself, many professional services are available that specialize in this type of repair. When choosing a service, consider the following factors:
- Experience and Reputation: Look for a service with a proven track record of successful rock chip repairs and positive customer reviews.
- Warranty: Many reputable services offer warranties on their work, ensuring you’re protected in case of any issues.
- Cost: Compare prices from multiple providers to ensure you’re getting a fair and competitive rate for the repair.
Preventive Measures
While rock chip repair can be an effective solution, it’s always better to prevent damage in the first place. Here are some tips to help minimize the risk of rock chips:
- Maintain a Safe Following Distance: Keeping a safe distance from the vehicle in front of you can reduce the likelihood of rocks or debris striking your windshield.
- Use Windshield Wipers Carefully: Avoid using your windshield wipers to remove debris or ice, which can cause the wipers to scratch or chip the glass.
- Consider a Windshield Coating: Applying a protective coating to your windshield can help reduce the impact of small rocks and debris, making it easier to remove any resulting chips or cracks.
Rock chip repair is a simple and cost-effective solution for restoring your windshield’s clarity and structural integrity. By understanding the causes of rock chips, assessing the damage, and following the proper repair process, you can keep your vehicle looking its best and ensure a safe driving experience.
Whether you perform the repair yourself or opt for a professional service, taking prompt action is key to preventing further damage and costly windshield replacement. By following the tips and techniques outlined in this guide, you’ll be well on your way to restoring your windshield to its former glory.